How to Expand All Grouped Cells in Microsoft Excel?
Grouping cells in Excel is a great way to make the worksheet compact and easily readable.


How To Expand All Grouped Cells in Microsoft Excel?
Grouping cells in Excel is a great way to make the worksheet compact and easily readable. It ensures that if someone just wants to know the main areas or calculations, he can quickly access them. Also, If someone wants an in-depth analysis, he can open the hidden cells.
When working with massive amounts of data, you are usually unable to grasp the whole information fully and sometimes may even miss the important bits.
To quickly and efficiently read important points, you must combine similar data and may expand them only when something interests you.
Similarly, you will also need to know how to collapse data that is not important and is cluttered in your spreadsheet. For example, you may not want to delete it for the need of a future reference, so you can always collapse the data.
The user can group both cells and/or rows depending on his/her need. Below you will see all the steps and shortcuts to the group, expand, and collapse data.
- Grouping cells in Excel allows users to collapse or expand rows and columns to simplify viewing and analysis of data.
- Expanding grouped cells is necessary when users want to view all the data contained within grouped sections without manually expanding each group individually.
- By default, when a group is created in Excel, users can manually expand or collapse the group by clicking on the "+" or "-" icons located in the margin area next to the grouped rows or columns.
- The keyboard shortcut for expanding all grouped cells is "Alt + Shift + *" (asterisk symbol on the numeric keypad).
How to Expand All Grouped Cells in Microsoft Excel?: How to Group and Ungroup Cells
Before learning to expand and collapse data, we must know how to group them. Below you will find all the steps needed to group cells.
Similarly, you may want to ungroup existing data for various reasons and want to know different ways and shortcuts to achieve this. Again, we got you covered, for you will find all the steps to ungroup data below.
1. Combining Cells
The example below will demonstrate to you how cells can be combined:
Step 1:
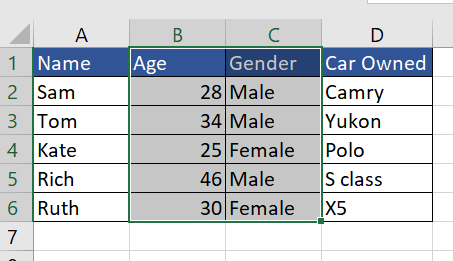
First, we must select the cells that we need to combine. Remember, both rows and columns can be grouped. For example, in the image below, we select Age and Gender since it’s not necessary to know who owns what car.
Step 2:
In the Data tab, In the Outline section, select group.

Step 3:
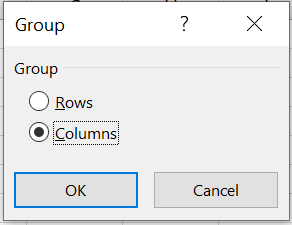
You will see a box asking if you need to group rows or columns here. For example, we will combine columns B and C.
2. Separating Cells
Similarly, we can always ungroup combined cells whenever we want. To do that, we can just follow the steps below.
Step 1:
We must first select the combined cells.

Step 2:
In the Data tab, In the Outline section, select Ungroup.

Step 3:
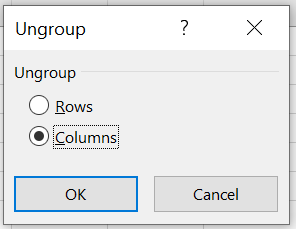
You will see a box asking if you need to ungroup rows or columns here. For example, we will ungroup columns B and C.
3. Group and Ungroup by Using Shortcut Key
By pressing the shortcut keys, we can group and ungroup cells using the keyboard.
The shortcut to combine cells is the SHIFT + ALT + RIGHT ARROW key. A dialog box will pop up asking if you want to combine columns or rows and choose what you want to group.

The shortcut to ungroup cells is the SHIFT + ALT + LEFT ARROW key. A dialog box will pop-up asking if you want to ungroup columns or rows. Choose what you want to ungroup.


How to collapse and expand cells
It may be that somebody else may have already grouped the cells, and you may need to expand them to see the data in-depth. You will need to know how to expand combined cells.
Likewise, you may want to collapse unnecessary data and only focus on the important bits.
Below you will see a step-by-step guide for both expanding and collapsing cells.
Step 1:
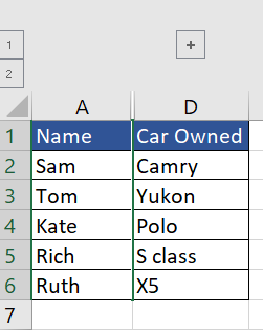
We will see a minus (-) sign; clicking it will hide the cells.

Step 2:
You can see a plus sign (+) to show the hidden cells when hidden together.
Collapse and Expand Cells Shortcuts:
You can always use keyboard shortcuts to hide or unhide cells in Excel. This method is much preferred and faster for professionals.
The shortcut to hide the whole table is - CTRL + 8. To unhide the table, just press CTRL + SHIFT +8.
The shortcut to hide rows is - CTRL + 9. To unhide the rows, just press CTRL + SHIFT + 9
The shortcut to hide columns is CTRL + 0. To unhide the columns, just press CTRL + SHIFT + 0.
Note
The unhide shortcut for columns does not work in Excel versions older than 2013.
Expanding All Grouped Cells For Subtotal
There is one more method to combine a lot of data into smaller and more easily understandable groups. This can be done by using the subtotal function. The subtotal function can also be used for other analyses like SUM, MAX, Average, etc.
The subtotal function is essential when you have a list of different data. Subtotal will divide this data into individual groups and help make your sheet look less cluttered and more understandable.
Example of Subtotal function: To Subtotal a set of data, just follow the steps below. We will use the same table as seen in the previous example.
Step 1:
In the Data tab, In the Outline section, select Subtotal.

Step 2:
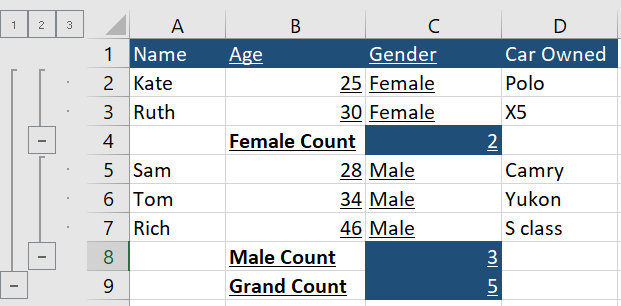
A dialog box will pop up asking you the criteria you want to set for the function. In our example, we want to find out the number of male or female people.
So we need to know each gender change and use the count function to count how many people belong to that gender.

Step 3:
Click OK, and you will see that the data is automatically grouped into male and female. We also know the exact number of people of each gender.
Expanding All Grouped Cells For Auto-Outline
We can also use another function to combine cells: the auto-outline function. The auto-outline function is useful and easier than manually grouping data, as Excel does the job for you.
But this function can only be used if we have created a subtotal of the data, or else you will see an error box. Without the subtotal function, excel won’t know how to group the data, thus the error.
Also, Auto-outline Excel automatically groups the whole column and row based on the structure of dependent cells. You will need to do it manually if you want to group specific data in a column or row.
Example of Auto-outline function: The auto-outline function is a must-know and is not all that difficult to learn. Below is an example and a step-by-step guide to the auto-outline function.
Step 1:
The Auto-outline function can be found in the Group drop-down. Click it, and Excel will automatically group your data. Remember, the subtotal function to divide the data is necessary for auto-outline to work.

Step 2:
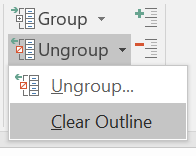
To remove the outline, go to the Ungroup drop-down, where you will see the option Clear Outline. Just click it, and the outlines will go.

VBA codes to Collapse and Expand cells
VBA stands for Visual Basic Analysis. It is a human-readable and editable programming code generated when using Macros. Macros are what we use to write VBA codes.
VBA coding is used by professionals in the corporate world who need to automate repetitive tasks.
VBA was developed by Microsoft Corporation and is used by almost all Microsoft Office applications like Excel and Access.
VBA programming language is beneficial in doing many repetitive or simple tasks on a big dataset. It can help users ease their workload and make their work faster and more efficient.
There are many advantages to knowing how to code in VBA since it helps automate many repetitive and simple tasks that you may have to do manually. In addition, saves a lot of time, and you can focus on understanding the data rather than filtering it.
You can not just group but do more than that using VBA, like have a message pop up on your Excel sheet and a lot more.
How to use VBA to expand and collapse cells
We can use VBA codes to expand and collapse cells without manually clicking buttons or pressing shortcuts. In addition, we can expand cells in multiple sheets using these codes.
Step 1:
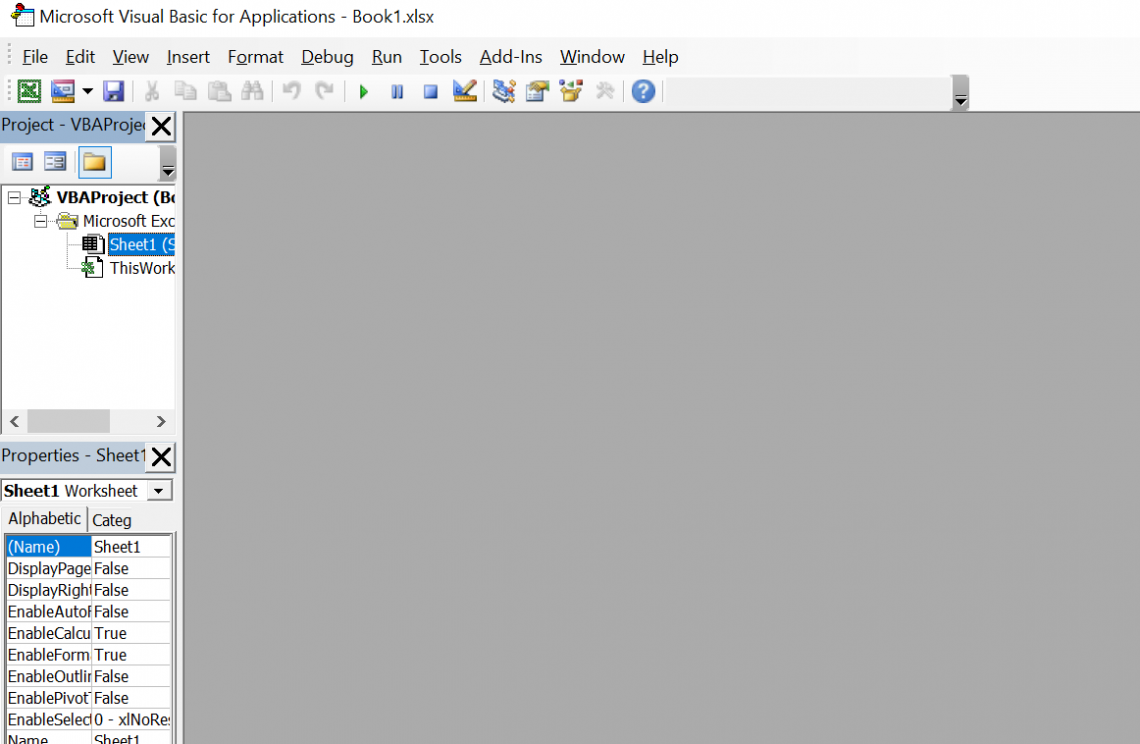
Press ALT + F11 to open the Microsoft Visual Basic for Applications window. You will see a window open like the one in the example below.
Step 2:
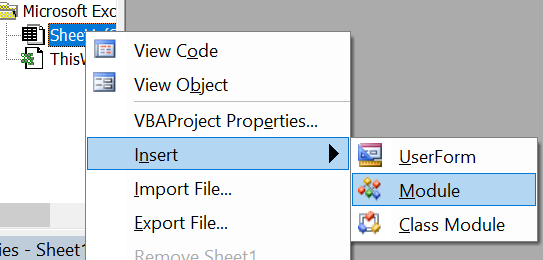
On the left side panel, right-click on Sheet1 and press Insert. You will see an additional box open; click the module in it. Alternatively, you can also click the Insert tab above and click the module.
Step 3:
The module window will open. Copy the code for expanding all cells below and paste it into the window.

Step 4:
The code for collapsing all the cells is

Step 5:
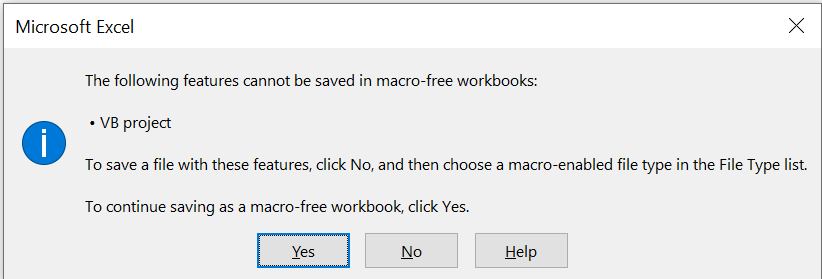
Press CTRL + S to save your workbook. Click NO in the dialog box, which will pop up.
Step 6:
The Save as dialog box will open; here, select Excel macro-enabled workbook in the Save as type drop-down list and Save.

Step 7:
Press ALT + Q to close the Macros window.
Step 8:
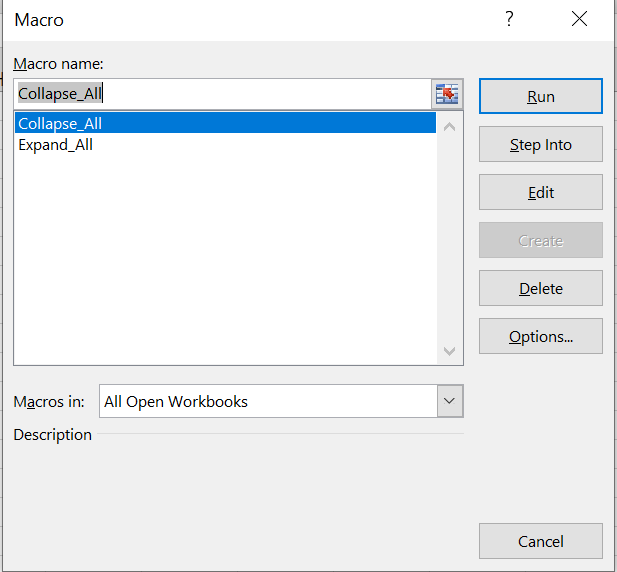
In the worksheet, press ALT + F8 to open the Macro dialog box
Step 9:
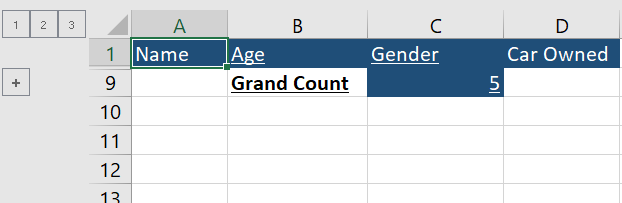
Click on the RUN command, and you will see that all the expanded cells will collapse. Alternatively, you can expand them by choosing Expand_All in the Macros dialog box and clicking RUN.


Free Resources
To continue learning and advancing your career, check out these additional helpful WSO resources:


or Want to Sign up with your social account?